Overview
Designed for children grades 3-5, Carving Club introduces young people to the world of green wood carving. Students will learn safe and efficient knife techniques as they advance through a series of progressively more challenging carving projects, from “dice” to “magic wands,” from “roosters” to “Roma Flowers,” from “foxes” to “peg boards.” Based on the Scandinavian “slöjd” educational model, this class’s ultimate goal is to foster growth mindset, self-reliance, and joy.
Description
Welcome to the Carving Club! We are so glad that you are interested in joining our class. The Carving Club meets weekly for 90 minutes, and class size is limited to eight students. Each class focuses on a different project that builds on the skills introduced in the previous class. We will make keychain ornaments and carve dice, fashion foxes and whittle roosters, engineer whistles and build pegboards, all with a knife, a saw, and a drill. Each project is progressively more challenging, moving from the easy to the difficult, the simple to the complex, and the known to the unknown. Most importantly, Carving Club seeks to foster intellectual and personal growth, especially building self-reliance, persistence, creativity, love for work, and neatness, all the while having a ton of fun.
To illustrate how our class teaches both carving and character, take our lesson on making dice. Students love making toys, and carving sessions often end with kids playing with their new creations. But along the way they get to develop physical and intellectual abilities and dispositions. Students get to practice knife grasps that they learned in earlier lessons, thereby building dexterity, confidence, and pride in their work. They are also given a challenge and asked to problem-solve and make predictions. “What is the best way to safely and efficiently carve a cube of wood from a stick?” “How can we ensure that each side is square?” “How can we measure without a ruler?” “When finished, do our dice produce truly random results, or are they ‘loaded?’” “How could we prove whether our dice are loaded?” “If we know that our dice are loaded, can we guess why they are loaded?” Our goal is less to carve the dice and more to engender learning habits.
Lessons Involve both group and one-to-one instruction, and every student is encouraged to progress at their own speed. Projects are finished only when a student feels they are done, and can be worked on for multiple weeks if a student likes. This allows them to develop their own sense of what is quality work. Thus each student might be working on a different project in any given class, especially by the end of the two-month session, depending on interests, motivation, and skills. Each new project is broken down into manageable steps, and each step is illustrated by a model. “This is what your stick should look like at the end of this step.” Students are given enough instruction to be efficient and safe, but not so much as to impede development. I also try very hard not to touch a student’s work, allowing them to develop skills and pride in their efforts.
At the Carving Club we celebrate our mistakes, as mistakes are how we learn. If a student finds that their dice are misshapen, what does that teach us? We try to cultivate both “grit” (the perseverance to pick yourself up after a mistake, learn from it, and improve) and “grace,” (not beating yourself up for making a mistake, but learning from it). And if a student makes a mistake, maybe they mismeasured a piece and have to discard it, they can contribute to our “Box of Learning.” “Suzie, did you cut your piece too short? What did you learn? If you like, you can sign it and toss it in the Box of Learning!”
One final thought: The Western notion that the mind and body are somehow separated is misguided, and Plato’s “world of forms” and Descartes' assertion “I think therefore I am” are, well, unhelpful. The truth is, we think with our hands. We learn with our bodies. Research clearly shows, and has shown for a long time, that thinking is “embodied,” that we learn through our bodies interacting with and manipulating our environment. If your child likes to doodle, tends to fidget, or gets squirmy when asked to sit down and pay attention, maybe that is them wanting to learn. So, I hope your children will join us once a week to put down the phones, pick up a knife and a stick, and get to whittling.
I look forward to carving with your children!
Some practical notes and ground rules.
- What to bring:
- Closed-toe shoes are a good idea.
- Keeping long hair tied back is also helpful.
- Snacks are encouraged, especially given how hungry kids are after school.
- Supplies
- All wood and tools will be provided.
- If you would like to buy your child a knife so they can carve at home, I have them for sale. The knives we use in this class are either the Mora Safe Pro, (MSRP is $13,) or the Mora 120 with the tip ground off (MSRP is $35.) I also have the Mora 106 and 164 for sale, though I will not be using those tools with this age group.
- Safety
- Right from the start we discuss the difference between tools and weapons. These knives are meant to be tools (and the fact that the knives we use don’t have a tip emphasizes this point.) We will discuss how our feelings and intentions, for example, anger and the desire to hurt, are what changes a tool to a weapon. In this class, we are all about joy and creativity.
- No “jump scares.”
- No joking about hurting others.
- No running.
- No touching anyone who is holding a knife.
- If someone is carving, wait until they are done before you walk by them.
- Knives must be either in a student’s hand or in a sheath. No knives are left lying around.
- Injuries.
- While we won’t experience the injuries found in organized sports, like bone breaks, concussions, and blown-out knees, kids will occasionally nick themselves. Normally these are minor cuts, and after a few minutes and a bandaid students are back at it. A nick is a chance to learn from a mistake. That said, I am very attentive to proper knife technique and closely monitor my students.
- Occasionally I will say “put your knives away,” and students will then put their knives in their sheaths. This is usually followed by some sort of instruction or lesson from me.
- Occasionally I will shout “Stop!” or “Freeze!” or in some other way indicate my alarm. At that point, every student in the class immediately stops what they are doing.
- I insist that kids tell me if they cut themselves. This is a learning moment, and is nothing to be ashamed of or hide.
- Some days students might not be in a headspace to carve, especially if they are feeling distracted, angry, or sad. If that is the case, students will be encouraged to read, draw, color, or perform some other soothing activity.
Instructor Bio
Eric Goodson (he/him) is a green woodworker and craft educator based out of Newbury, Massachusetts. He began woodworking and turning in 2013 while also pursuing a career as a high school history teacher, department head, and academic dean. After twenty-seven years in the classroom, Eric began making and teaching craft full-time in 2022. As a craft educator, he pays special attention to pedagogy, drawing inspiration from the Slöyd education system in Scandinavian countries that teaches students perseverance, growth mindset, and self-reliance through the process of making. As a craftsperson, Eric’s work focuses on turning bowls and hand-carving spoons, spatulas, spreaders, and things starting with other letters. His craft is inspired by British and Scandinavian historical woodenware and is meant to be used daily, hopefully enriching peoples’ routines with functional sculpture. Eric has studied under craftspeople like Jögge Sundqvist, Robin Wood, Peter Follansbee, Dave Fisher, and Jarrod Dahl, and is an instructor at the North Bennet Street School in Boston, MA, Sanborn Mills Farm in Loudon, NH, and the Fuller Craft Museum in Brockton, MA. He is a fully-juried member of the League of New Hampshire Craftsmen.
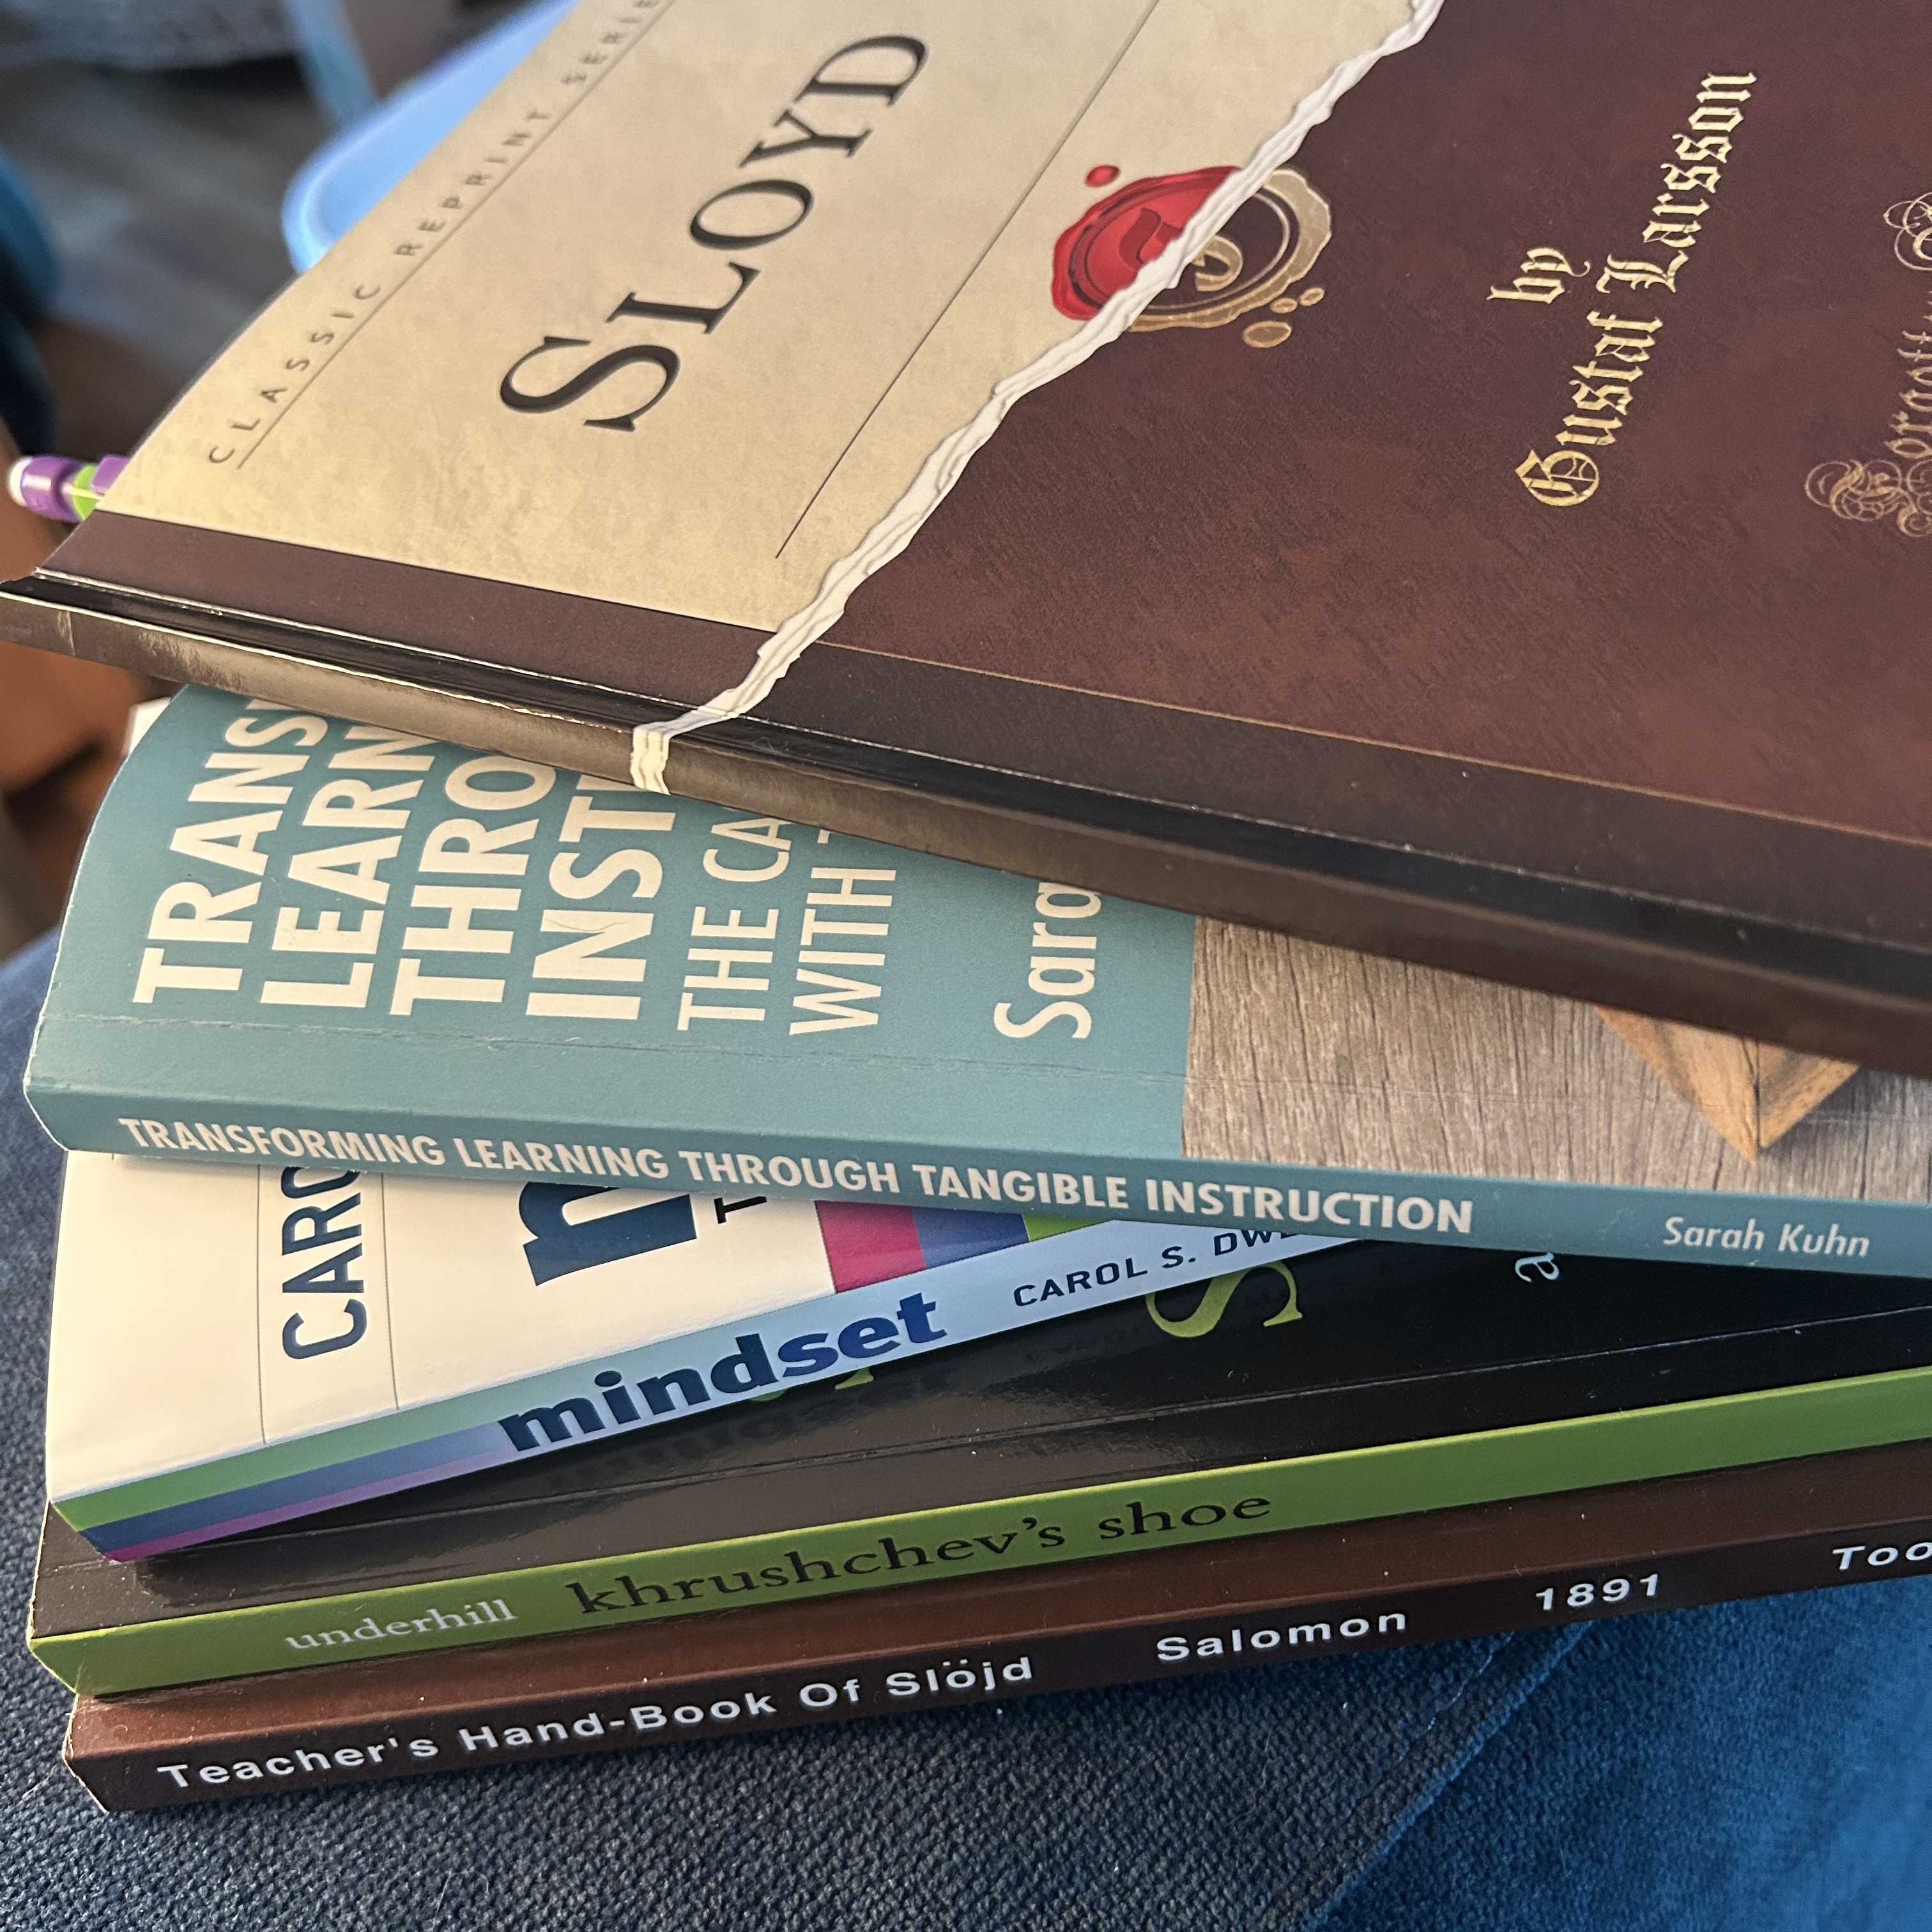
A note on Slöyd:
The educational basis for the Carving Club is the Scandinavian Slöyd educational system, established in the mid-nineteenth century and still compulsory in Scandinavian countries today. While Slöyd was brought to the United States in the early nineteenth century and first taught at the North Bennet Street School in Boston, it has since largely died out in the U.S.. Unlike the “Shop” or “Home Economics” classes of the 1950s American classroom, which were driven by economic imperatives, Slöyd classes are driven by educational and moral imperatives. Rather than focusing on making more craftspeople, Slöyd tries to instill character and values in students that will serve them in whatever field they pursue. The outcomes that Slöyd fosters are self-reliance, persistence, resilience, love for work, and neatness. Slöyd education was ahead of its time in many ways, and modern educational research on topics like “growth mindset” and “grit” back up much of what today’s Scandinavian schools already understand–working with your hands is how we grow our brains.


